Photo Editing Tips by SirNicolay
When in Manila, you will be surrounded by hundreds of enthusiastic photographers, both amateurs and pros, showcasing their photos all over photo-sharing social networks like Facebook, Flickr and Instagram. On these websites, it is easy actually to determine which photographers are taking their pictures more seriously—I’m not referring to those who are professional or, by the strictest definition, those who get paid for their photos—the ones who take the icing of the cake of praise from the photo viewers are those who have carefully composed their photos AND edited them effortlessly.
There are still some naysayers who subscribe to the myth that photo editing is bad, and that photos should never be edited. I’m not saying that they’re completely wrong because they have a valid point: one of the factors that make a photo beautiful to look at is the way the photographer mixed manually his camera settings, timed his shot, conceptualized the theme and the background, and framed the subject painstakingly, showing its best angle and shape. Amen, that is correct. However, photo editing is a chance for a photographer to enhance the photo and make it more beautiful. For me, whenever I defend the act of photo editing, I always say that photo editing, if done naturally, is very much similar to applying make-up on a person’s face: the mascara, eye shadow, and the blush-on will not alter the identity of the person. Likewise, if photo editing is done naturally, the photo remains the same photo you compose, only you made it better or more beautiful. Heck, you can even claim that you recreated the photo or gave it a new life.
However, I still have some reservations about the way some people do photo editing. I’m pretty sure many people will agree with me on this point: some photographers bend the boundaries of photo editing too much and use multiple Adobe Photoshop techniques in order to completely alter the subject. We can label this as photo manipulation. If I previously compared natural photo editing to applying make-up, extreme photo manipulation might be similar to plastic surgery. The photos feature subjects which are thinner and, unfortunately, too perfect. Not that I’m saying that this is wrong, sorry Belo customers, but I would rather see photos which are still 100% representative of the subject. But then again, maybe it’s a matter of personal taste.
Anyway, I’ve been teaching photography and photo editing for more than three years, and I’m glad to have taught many students some valuable tips on editing as I teach them how to use the Adobe Lightroom software simultaneously.
Most of my students are familiar with these, which are my tried-and-tested photo editing tips:
1. Edit good photos only. Do not hesitate to delete bad photos.
It is such a waste of time to edit poorly composed photos, especially the ones with distractions or wrong angles or poor lighting or bad focus. Do yourself a favor and delete these bad photos. And please do NOT upload them on facebook… UNLESS they’re very, very important or meaningful to you or your audience. For example, if you took a horrible photo, underexposed (dark), but it shows that you’re with a famous celebrity or the photo is the shot of your kid taking his first steps, no matter how badly or poorly composed or horribly lit the photo is, keep them. But if the photos are definitely not that important to you, they should vanish without a trace before your future photography fan sees them! One last thing, deleting bad photos can make you save more space on your storage space. Therefore, more room for good photos, eh?
2. When cropping photos, you have to grab your last chance to follow the rule of thirds. Crop as little as possible.
Cropping is the act of cutting out parts of the photos in order to resize them or make your photo have a better focus. When you do this, you have to follow the rule of thirds–or in layman’s term, making the subject off-center in the photo. This rule will make your photo look much easier on the eyes. Additionally, do not crop away too much of the photo, because when you do so, your photo might turn become too small and might be pixelated already when enlarged digitally or printed. So the bonus lesson here, always use LARGE photo size for your photos so that when you crop your photo, it will still look great and not pixelated.
3. You don’t have to use all of the editing tools of your photo editing software. Edit as minimally as possible.
So you just learned how to use Adobe Lightroom or Adobe Photoshop or Apple’s Aperture or iPhoto photo editing software. I’m sure you’re excited to play with the exposure, saturation, contrast levels, etc, right? Wait! Take it easy, cowboy. Tip from many pros and excellent photographers: adjust only what needs to be adjusted. Look at the photo first, and ask yourself: what does it really need? There’s no sense to adjust the color if the subject is colorful and vibrant enough, right? But of course, you can play and have fun and explore. But from those who have done photo editing thousands of times already, efficiency with photo editing is the new mantra. And the best photographers out there might not even edit a thing—or so they claim. But believe me, usually even the best photographers out there just click at most three to five photo editing tools and their masterpiece is done! Simplicity is the key to natural photo editing.
4. Make the subject pop out. After all, your photo is all about your subject, right?
This probably is the most basic goal of photo editing. When your photo seems to be already showing its message, then the goal of editing is done. Of course, making the subject ‘pop out’ can also entail making the photo vibrant, making the background less visible. The moment that photo is already speaking to you, that’s it. You’re done.
5. Protect your online photos with a simple watermark, lower resolution, and smaller size.
Watermark is the ‘copyright’ text on your photo, which in a way is like a signature. Of course, since your photo is your creation, you have to be proud of it, right? But do not make your watermark too fancy—otherwise, the people might focus too much on your watermark, forgetting the point of the photo. Another thing, the resolution of the photos for online screens is usually pegged at 72 pixels per inch (common online photo resolution), while the size of the photo should not be larger than 1000 by 1000 pixels; otherwise, your photo can be stolen by other people. Or your photo might take a longer time to load on webpages.
So these are the basic photo editing tips that I found useful and my photography students have been guided by these as well. If you want to learn more or interested to join my photo editing lessons, please feel free to visit my website at https://www.sirnicolay.com in order to view my editing courses.
Special promo for WhenInManila readers, you can get 10% discount on the editing package (and even the other packages) if you state that on the reservation form that you found out about my website through WhenInManila.
Have fun photo editing, everyone!
SirNicolay’s Photography 101
UP Ayala Technohub & Ang Bahay ng Alumni, UP Diliman Area
Visit my webpage to reserve classes at https://www.sirnicolay.com
Like my Facebook page
You can contact me at 0928.503.4878
Classes are held during weekends from 7:30 AM to 5:30 PM
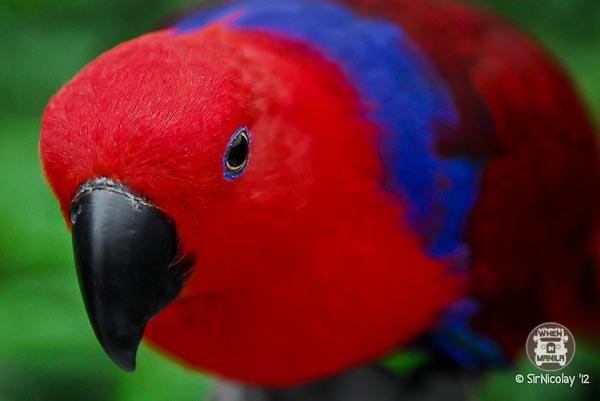
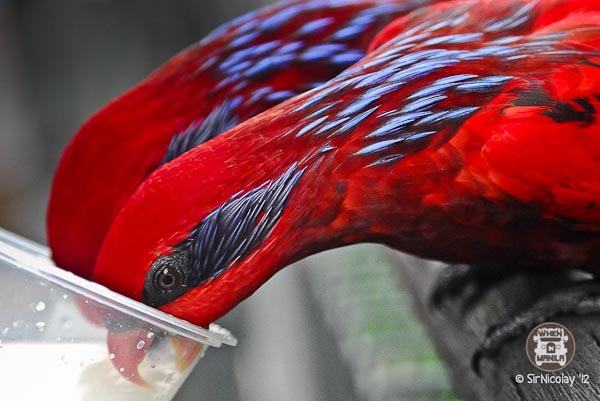
Photos on this page were shot in various places in Singapore: Jurong Bird Park, Singapore Art Museum, Chinese Gardens. (I might showcase more Singapore photos in my next article 🙂


