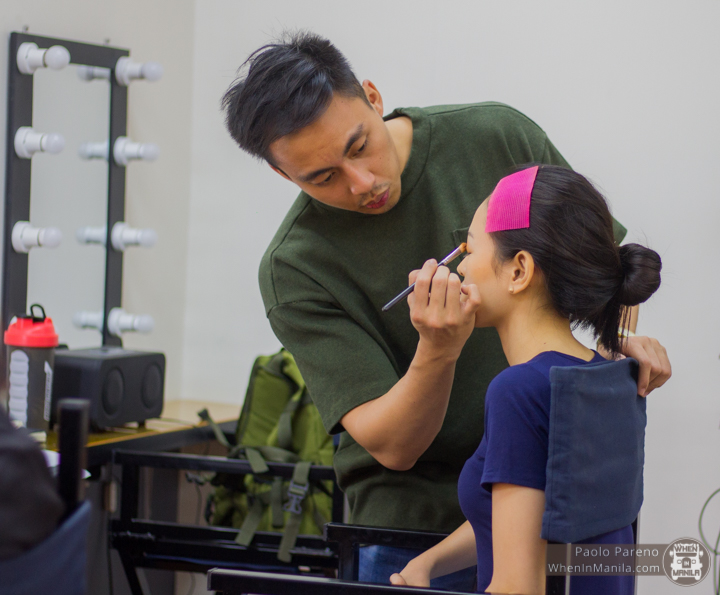
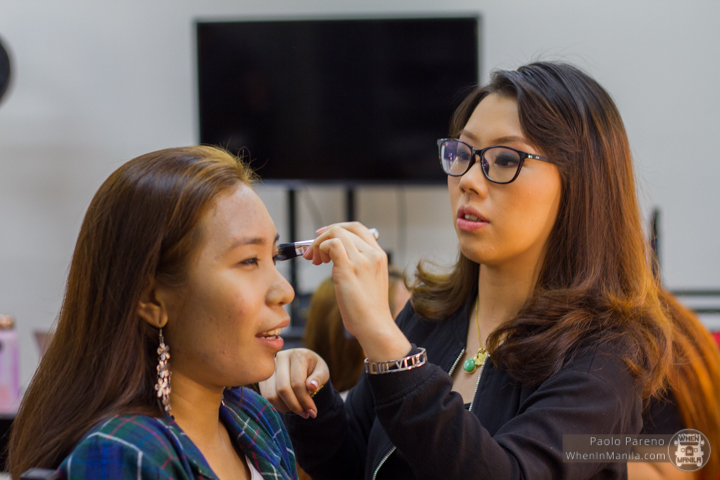
Makeup and I have a love-hate relationship. More often than not, I find myself with an uneven winged eyeliner and blotchy foundation that makes me look like a ghost. Contouring? Let’s not even go there.
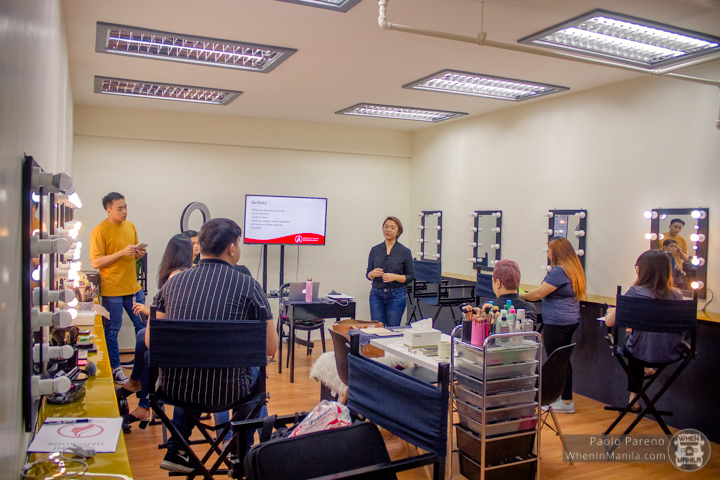
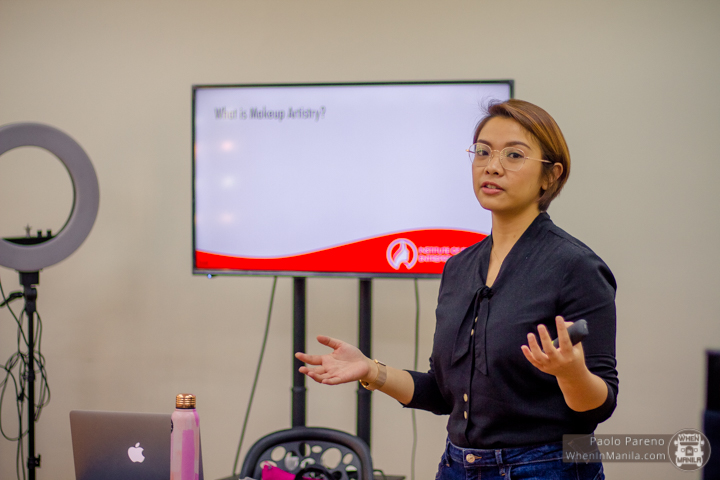
Thankfully, I was given an opportunity to attend a 5-day Basic Pro Makeup class taught by the Institute of Beauty Entrepreneurship, or IBE. It’s a leveled up version of Props Studio, a makeup retail shop slash studio that offers workshops for personal makeup. IBE was established by three makeup artists – Cecille Rebollos (principal and head of operations), Koi Castillo (marketing), and Janine Bacsa (general manager) – as a more professional classroom setting compared to its predecessor. Their goal is to elevate the mindset of local artists through a systematic and holistic approach, and teach them eventually become globally competitive beautypreneurs: beauty entrepreneurs.
The Basic Pro Makeup class aims to teach the basics of Makeup artistry in 5 days, from 10AM to 5PM. (Make sure you bring your own makeup and models on all five days, though you can try out some of their partner products, too.)
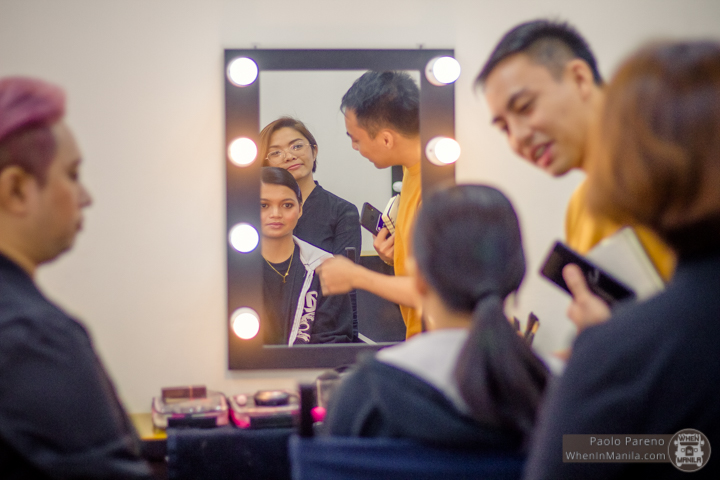
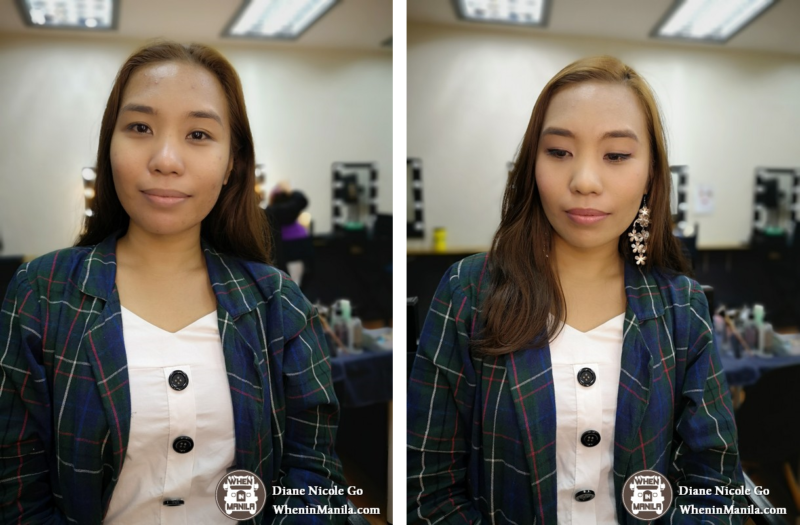
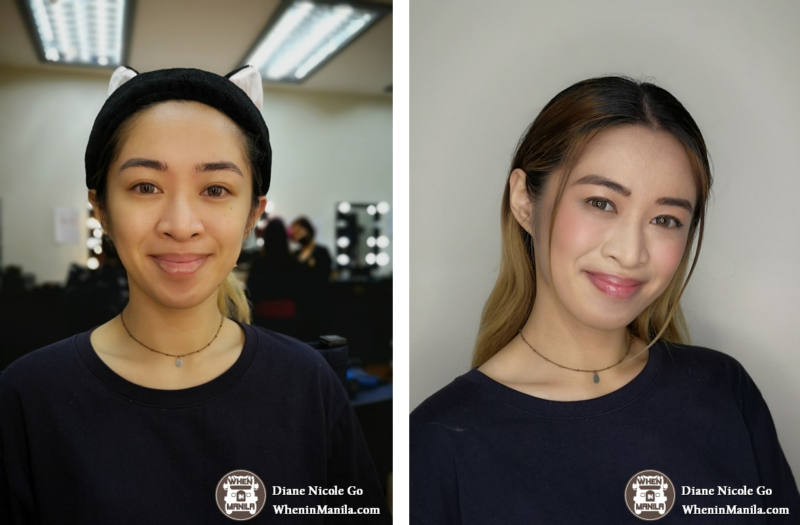
You’d be surprised. A complete noob like myself was actually able to learn something in 5 days! I started out with a lazy-eyeliner-and-lipstick-combination; but after the class, I can now contour and draw eyebrows— not just on myself, but on other people, too!
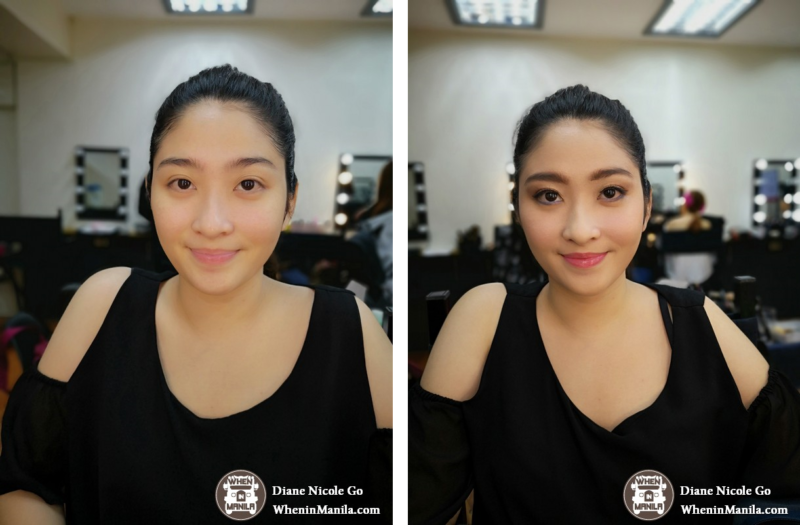
Before and After Photos of WIM Intern Christiana Catu
5 Beauty Tips that I Learned at a Basic Pro Makeup Class
Cleanse, Tone and Moisturize.
If a canvas is not smooth, how can you paint on it properly? The same goes for your skin. Makeup artists often skip this step and start with primer and foundation and all that. However, that shouldn’t be the case. IBE taught me that you always need to prep your face before applying makeup. Wash your face with a cleanser, wipe off excess dirt with toner, and moisturize. You can even go the extra mile and exfoliate to remove any flecks of dry skin that might ruin your look. That way, your makeup won’t ruin your skin. Plus, it’ll last longer and have a seamless finish.
Pro Tip: You can learn a thing or two from Korean skincare. Be disciplined and follow a good regimen daily (we’re talking cleaner, toner, essence, serum, cream, and sunblock), so that your skin is always at its peak condition and looking its best.
Test Foundation on Your Jawline, Not Your Hand.
Wonder why it’s hard to find the right foundation shade for you? The problem might lie in your color matching. Salespeople in department stores often swatch foundation on the back of your hand, which isn’t an accurate way to match your skin tone. Your face needs to follow the color of your neck, so it would be best to test foundation on your jawline. Dab a bit and smudge it. If the color disappears into your skin, it’s a match. If you can’t seem to get the right shade, you can get two shades and mix them together for a more accurate skin tone.
Pro Tip: If you’re an aspiring makeup artist who’s building their makeup kit, start out with three different foundation shades: dark, medium and light. No matter what skin tone you’re faced with, you can mix them with ease.
Color Correct Before Using Concealer.
Can’t cover that zit? This is where color correcting comes in. Makeup shops sell creams in different colors, which you can use to cover your blemishes. Each blemish has a certain color: acne and rashes are red, veins are blue or purple, and moles are brown. To know how to correct these, you’ll need to go back to your color wheel. I’m talking complementary colors. Redness can be corrected with green, while veins can be covered with yellow. As for dark spots and eye bags, use orange. You can also use yellow to brighten dull skin!
Pro Tip: Invest in a palette with all of these colors. You never know what you’ll need to cover.
Correct to Match an Ideal Shape.
If you’re new to contouring, the diagrams may look intimidating. IBE breaks all this down for you in an understandable way. Contour darkens to make certain areas smaller, while highlighting brightens and makes areas bigger.
The trick is correcting until you get the ideal shape. For faces, the ideal face shape is oval, which is why you need to elongate a round face or soften a diamond-shaped face, particularly at the person’s sharp jaw area. Define cheekbones if they’re sunken, and make a small nose appear larger by highlighting the bridge of your nose with a shimmery highlighter.
Pro Tip: The interplay of light and shadows is important. When applying makeup, remember that dark colors are usually applied on the outer area, and work your way with lighter colors when you get to the center of your face— much like a gradient.
Eye Makeup is Really, Really Important.
The first thing people will see is your eyes. That’s why you need to up your game when it comes to eye makeup. There are many things to consider when doing your eye makeup: the shape, size, placement and the depth of your eye. The same applies in applying makeup: match what is ideal because any technique works on it. Almond eyes are the ideal shape, while a balanced distance between each eye is good.
How does correcting work? For hooded, narrow-shaped eyes, the objective here is to make them bigger by using mascara and false eyelashes. Frame your eyes with eyeliner (you can even try a wing!) to make it pop, but don’t forget to add a bit at the bottom. You can even brown eye-shadow to create the illusion of a crease!
With the right tools and skills, you can create a dramatic look with your eye makeup. But remember to always blend properly for a smooth finish!
Hot Tip: Eyebrow makeup is pretty straightforward. Just follow the natural curve of your eyebrow, and draw on it with thin, upward strokes to give it a more natural, hair-like appearance.
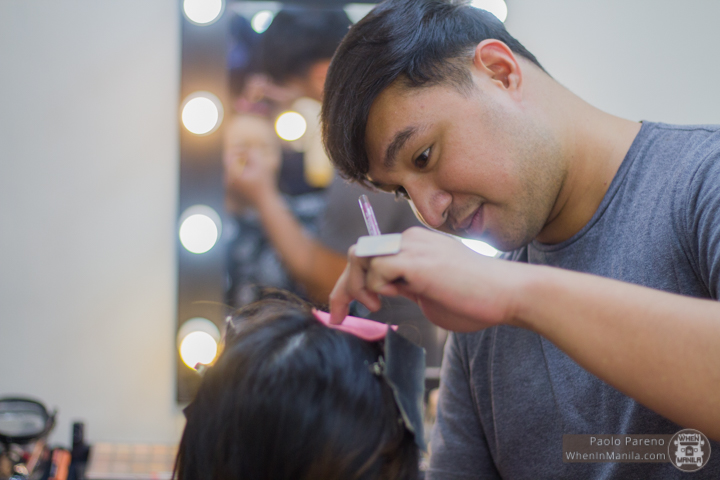
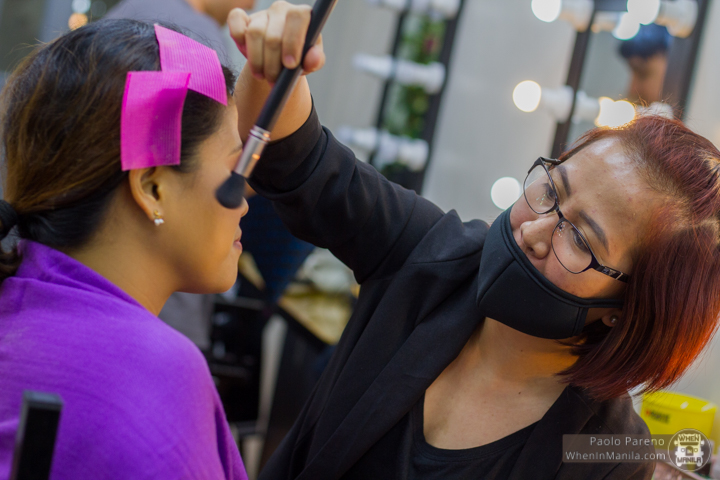
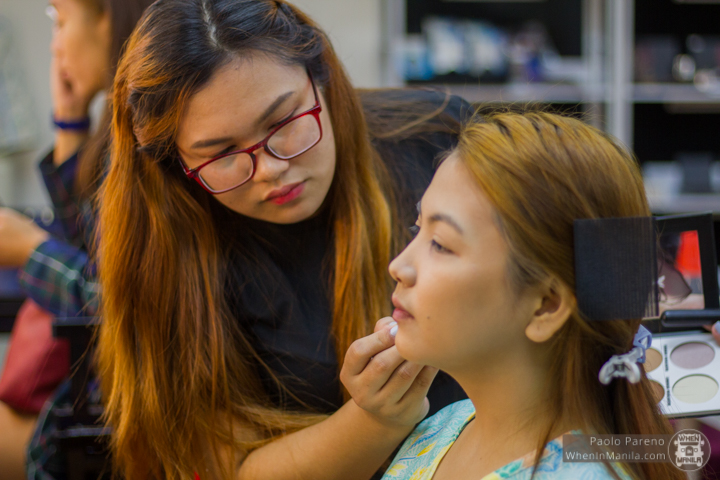
What I like about IBE’s classes is that they don’t rely on memorization alone— they explain it so you understand the logic behind the process, such as the reason why you cannot mix liquid-based makeup with powders (it’ll look cakey), why you need to draw eyebrows in upward strokes, why you should only apply blush on the apples of your cheeks, and so on. It’s a hands-on learning experience that helps you learn to love makeup, or love it even more.
Beyond that, the most important takeaway I had was that makeup isn’t about transforming your face, but about enhancing the beauty you have already been blessed with.
IBE doesn’t just teach the theories and applications of makeup, either. They also focus on the business side, so that you can turn this passion project into a business. That’s their edge above all other classes— they really sit down and bounce off ideas with you based on your beautypreneur goals with the help of a SWOT (Strengths, Weaknesses, Opportunities and Threats) analysis, until you end the session with a clear business goal and plan in mind. They even check up on you after 3 months to see your progress!
Institute of Beauty Entrepreneurship
5th Floor RFM Corporate Center Pioneer St. Mandaluyong
Website: https://www.ibe.ph
Facebook: https://www.facebook.com/ibe.philippines
Instagram: @ibe.ph

