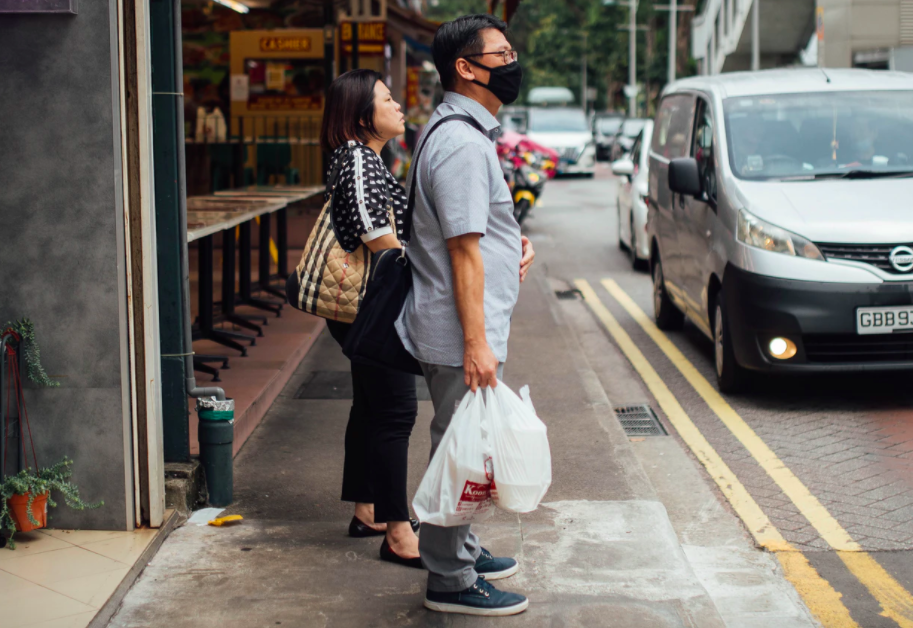
Photo of a man wearing a face mask. Source: unsplash.com
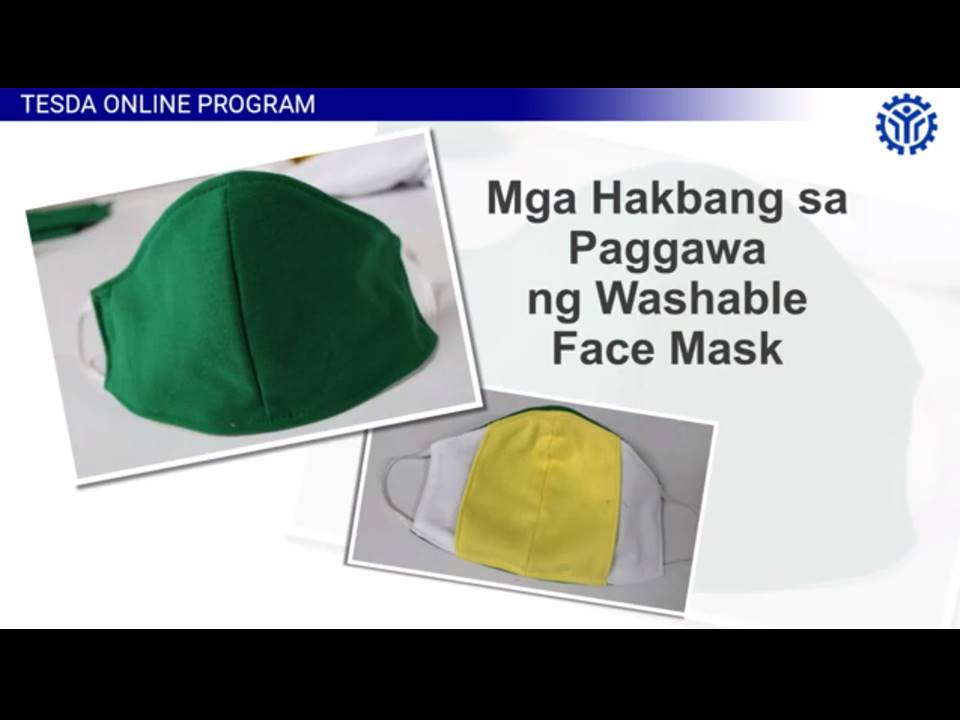
Technical Education and Skills Development Authority (TESDA) Secretary Isidro Lapeña has called on the public to learn how to make DIY washable face masks especially at this time of need and while the majority of the population is under the enhanced community quarantine.
The TESDA chief said that while employees of the TESDA regional and provincial offices and trainees of TESDA training institutes are continuously producing washable face masks for donation to the frontliners, there is still a big demand for face masks nationwide given the threat of spread of COVID-19 in the community.
Lapeña said, “It will be beneficial if our kababayan, now that most are staying at home, to learn how to sew face masks for their use and of their families. We all need face masks now that we are required to wear them outside when doing essentials for our households.”
Face mask production can also be turned into a livelihood especially during this time when workers or employees have been temporarily suspended from reporting for work due to the quarantine. With the reported shortage in the supply of face masks, enterprising Filipinos can benefit from selling cloth face masks.
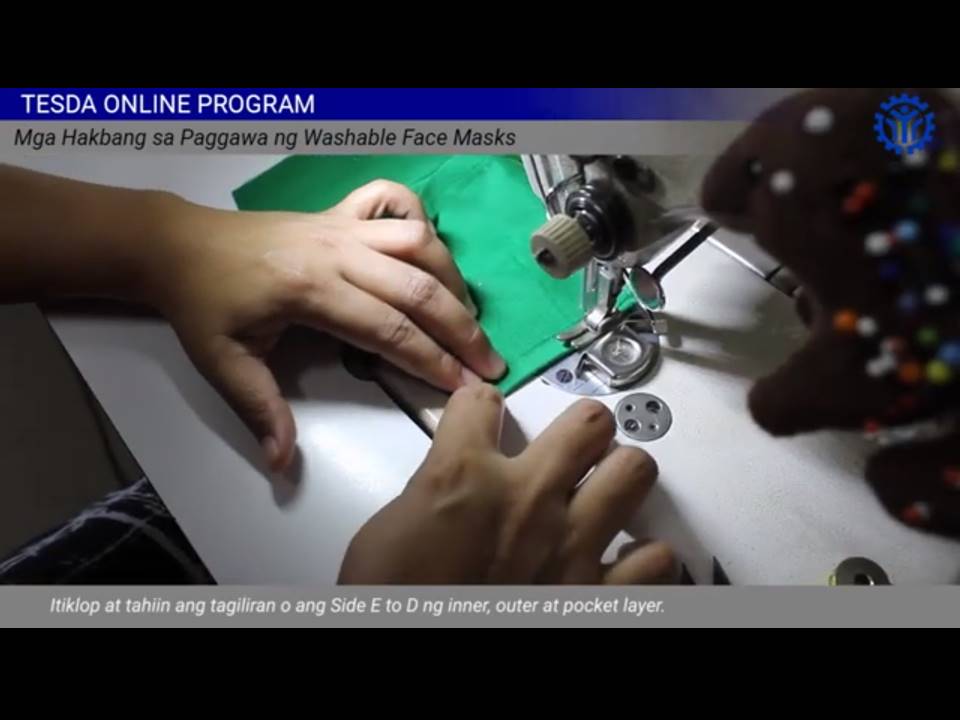
TESDA has posted the instructional video on how to make cloth face masks at www.e-tesda.gov.ph. It shows step-by-step procedures in sewing a face mask, starting with pattern making up to the finishing touches.
Interested sewers may also skip the “Drafting” step shown in the video and instead directly proceed with pattern cutting as TESDA has provided patterns downloadable from https://bit.ly/2UGSmOD. The patterns have to be printed on A4 sheet of paper to be used as layout on the fabric, preferably cotton, as being used in TESDA face mask production.
As of April 4, 2020, TESDA has produced and donated almost 91, 000 face masks to frontliners of various hospitals and local government units, the uniformed personnel at checkpoints, barangay tanod, and health workers, other government agencies, including members of the media.
Here is the step by step guide to sewing a DIY washable triple-layered face mask:
PREPARING THE PATTERN AND CUTTING THE FABRICS
- Draw a baseline (horizontal) and create a right angle by drawing a vertical line.
- Mark the portion where both lines meet as Point “A”.
- From Point “A”, measure 5 3/8 inches upward and mark the line as Point “B”.
- From Point “A”, measure ¾ inches to the right and mark the line as Point “C”.
- From Point “A”, measure 3 3/8 inches to the left and mark the line as Point “D”.
- Using a french curve, draw a curve line from Point “C” to Point “D”.
- From Point “D”, draw a slanting line with 2 5/8 inches and mark the line as Point “E”.
- From Point “E”, draw a horizontal line to the right with 4 5/8 inches and mark the line as point “F”.
- Connect Points “B”, “F” and “C” using a french curve.
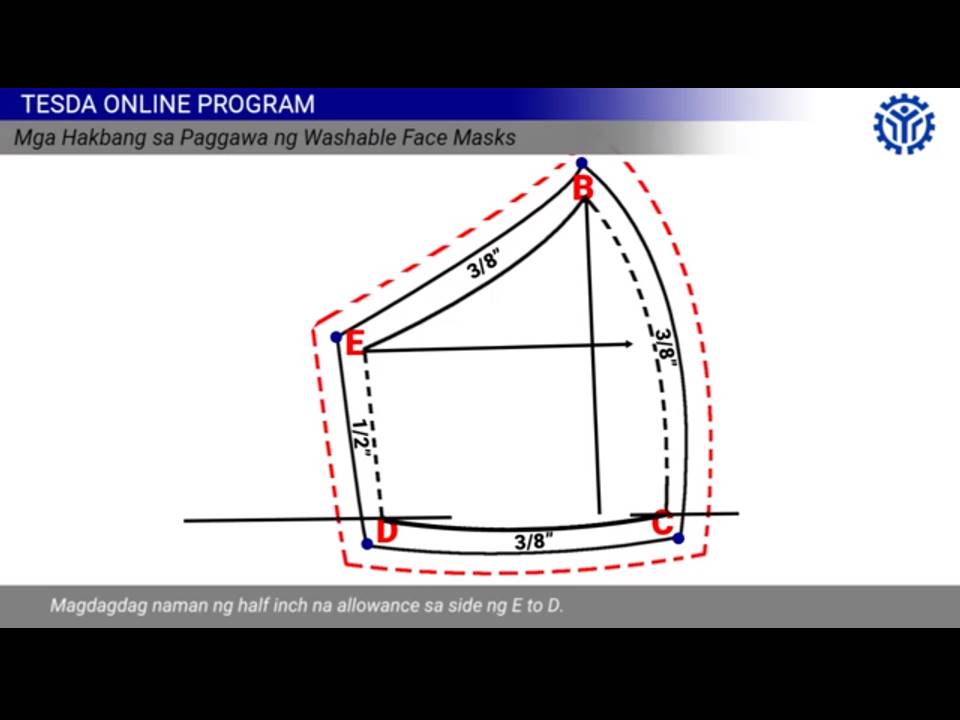
- Add a 3/8-inch allowance on the following sides: E to B, D to C and B to C.
- Add a half-inch allowance on E to D.
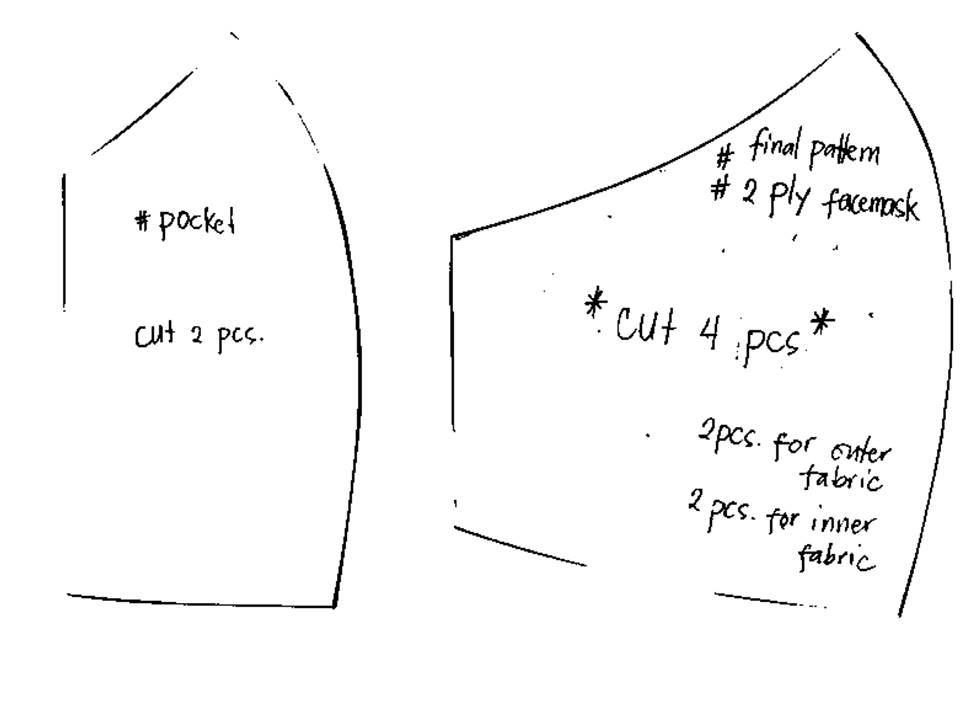
- Cut the pattern. This will serve as the pattern for both the two (2) outer layer and two (2) inner layer of the face mask.
- For the inner pocket of the mask, trace the previously prepared pattern.
- From Point “C”, measure 3 inches to the right, mark the same and draw a vertical line to the side of Point “E” to Point “B”.
- Cut the pattern. This will serve as the pattern for the inner pocket of the mask.
- Lay patterns on the folded fabrics (to create a two-piece panel in one cut).
- Cut 2 pieces of fabric for each layer of the mask (inner, outer and pocket layer of the mask).
SEWING THE FABRICS
- Prepare the cut materials/fabric and the sewing machine for operation.
- Sew the center front curve on each layers of the mask (outer, inner and pocket).
- Fold and sew the side part of each layer (E to D).
- Create a “knotch” on the center front of the curve of each layer using the pinking shears/ cutting shears to ease the curves.
- Flatten the center front curves of the layer using an iron.
- Lay the pocket layer in front of the inner layer. Ensure that the front portion of the pocket layer is facing outward.
- Lay the outer layer in front of the pocket layer. Ensure that the back part of the mask is facing outward.
- Sew the top and the bottom part of the mask.
- Using the cutting shears, clip the curve lines of the top portion.
- From the side, invert the layers. Place the outer layer in front and the pocket layers at the back of the mask.
APPLYING FINISHING TOUCHES
- For the ear loops, cut two pieces of garters or elastic bands with 5 ½ inches.
- Insert and sew the garters in both side-corners of the mask.
- For a neat finish, sew the top and bottom edge of the mask leaving 1/8-inch allowance.
- Wash and Iron before use.
The curve and the two-paneled design of the facemask fits on the face better. The third layer of the mask (pocket) does not only add protection but also serves as a slot for an extra layer of fabric/tissue for an added filter.
Anything to add to this story? Share your thoughts with us.
Do you have a story for the WhenInManila.com Team? Email us at story.wheninmanila@gmail.com or send us a direct message at WhenInManila.com Facebook Page. Interact with the team and join the WhenInManila.com Community at WIM Squad!

