Article by Paulo Obia
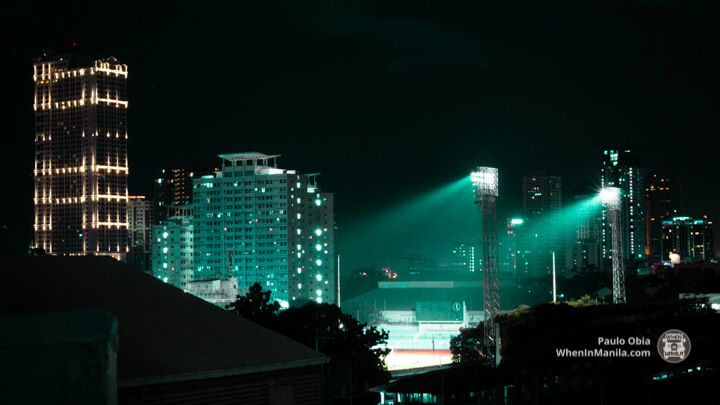
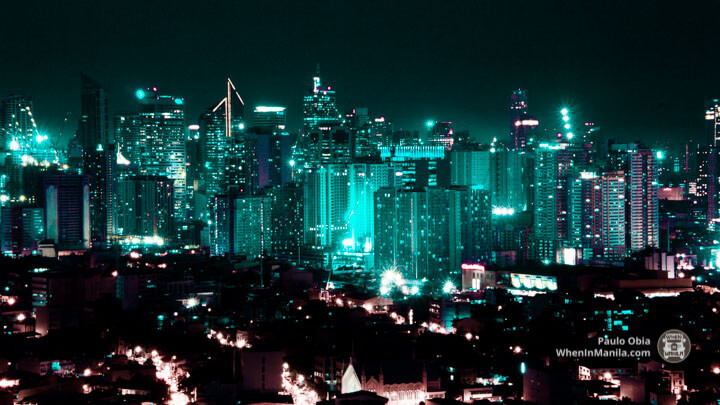
Who would have thought that the unconventional beauty of night can be just as fascinating as daytime? Understatements about night photography usually come from the assumption that the dark is not the best time to shoot. I’d beg to differ, though, because night time is just as wonderful as daytime once photographers realize that the dark is not the enemy. We are often distracted by the pros of the “Golden Hour”, but we need to realize that stepping out of our comfort zones can help us improve as photographers. Sure, it can be quite intimidating at first, but the struggles will definitely pay off once you get the hang of it.
I understand where all this intimidation is coming from because I, for one, also struggled to capture moments at night due to the lack of light. But worry not, I have gathered some of the best tips that you need to know in taking great pictures despite the absence of daylight based on my actual experiences as a photographer.
5 Things to Keep in Mind When Doing Night Photography
5. Get the proper equipment ready.
The proper equipment can greatly affect how a shot will turn out. My recommended equipment for taking pictures at night?
- A tripod – It is very flexible and will help you get the angles you need. It can also help in taking long exposure shots.
- A flashlight – This can be very helpful in lighting up the subject you want or simply assist you when adjusting your camera.
- A wide angle lens – Although this is only a personal recommendation, a wide angle lens can greatly help with your shoots as it allows more light to pass through and create brighter shots.
- Flash – Again, not required; but this can help light up the subject or just help in making the scene lit.
- A camera – Well, of course we can’t do a night shoot if we don’t have a camera .
- Your imagination – Look around! Everyday objects and different angles can already make a big difference in your photos.
4. Shoot in RAW.
I know shooting things in RAW takes a huge amount of space, but trust me: it’s worth it. It’s much easier to edit and the possibilities of messing up the original file is low – unlike when you are editing a jpeg format.
3. Go Manual.
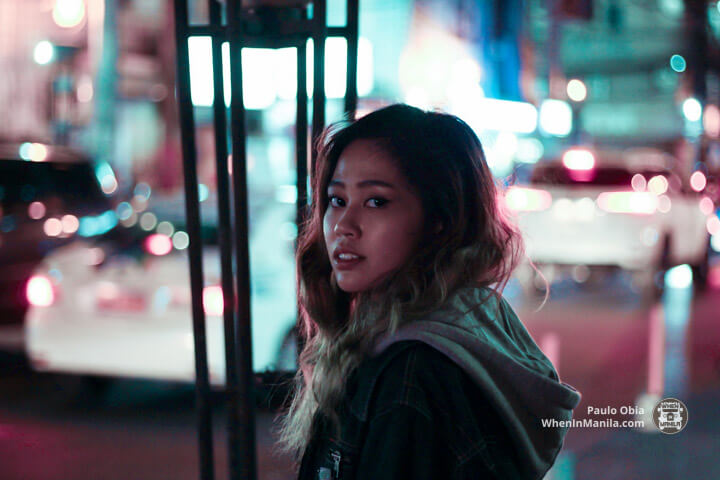
Using manual mode is a must if you want to take a decent shot at night. It’s much easier and more fluid to adjust it according to the surroundings. You can’t just rely on automatic for night pictures because they can barely see what will they adjust to.
2. Capture Light Trails.
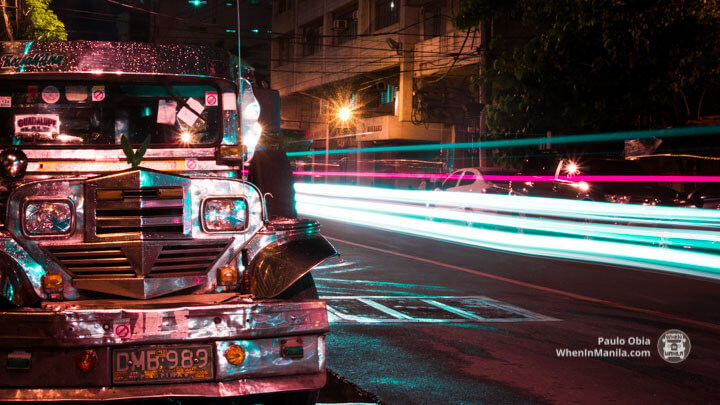
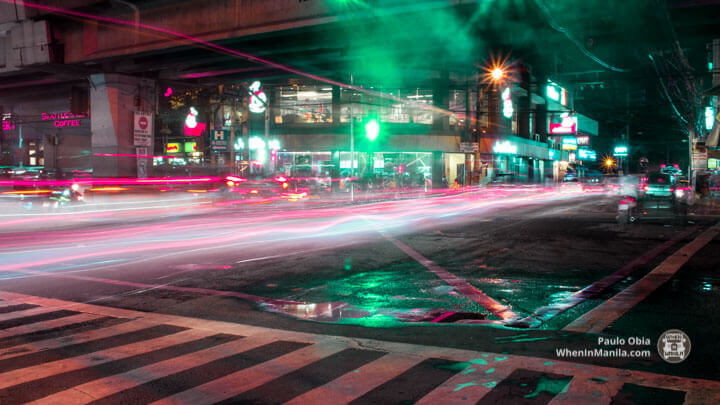
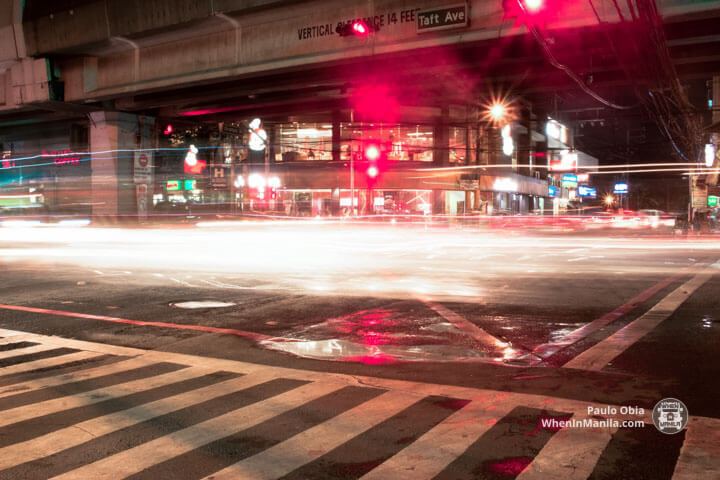
Light trails adds life to your shot and makes it more dynamic. Capturing a light trail can be quite tricky at first, but once you get used to it, it should be a piece of cake! One thing you should remember when capturing a light trail: use a tripod and set the shutter speed to bulb. Click and hold for a while, and wait for the magic to happen!
1. Use Reflections.
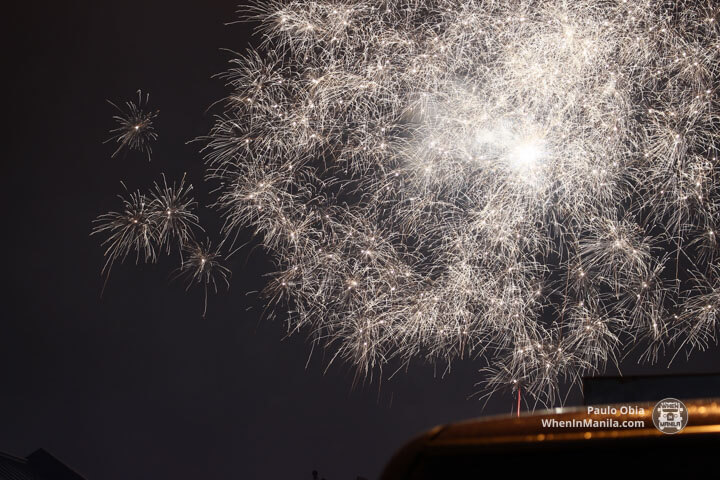
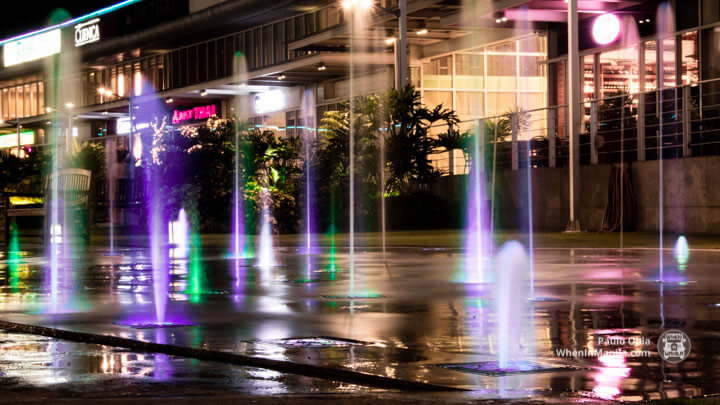
Make the light reflect on water or mirrors to add life and give a dynamic feel to your shots. This will also give a sense of continuity, which is always appealing.
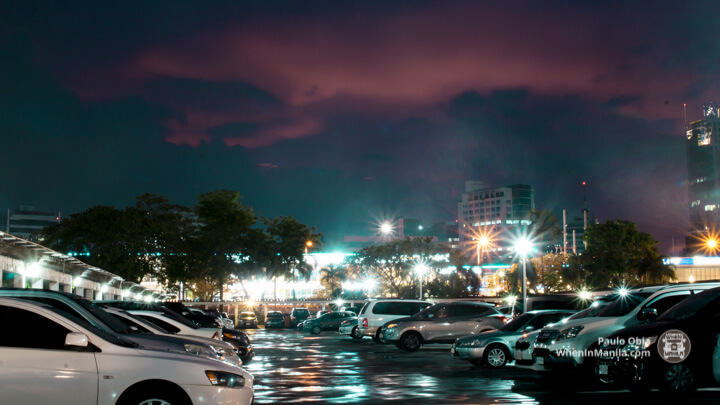
Remember: it’s not about the camera but how you see the world that makes your photo great. With that in mind, you can now go and have fun in the dark, and take some amazing shots!

