Words by Katrina Tan / Photos by Arah Reguyal
Got an old pair of kicks that you don’t wear anymore? About ready to throw them out or are you letting them collect dust on a shoe rack somewhere? Well, don’t! It’s time to get creative and revamp them! Customizing your shoes is sure to save you a few trips to the bank.
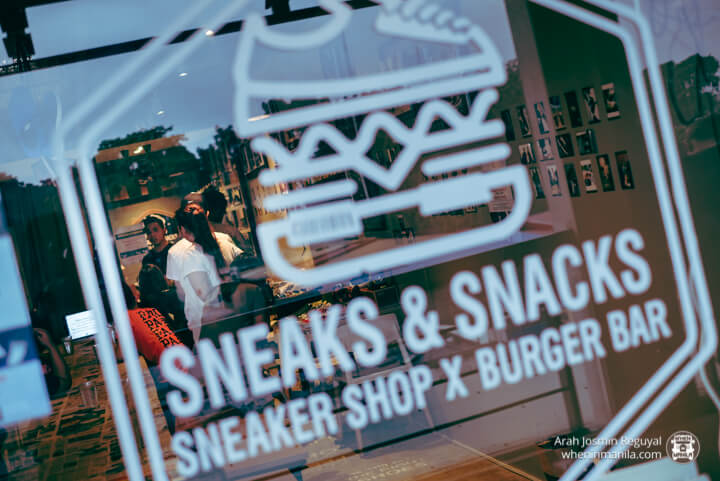
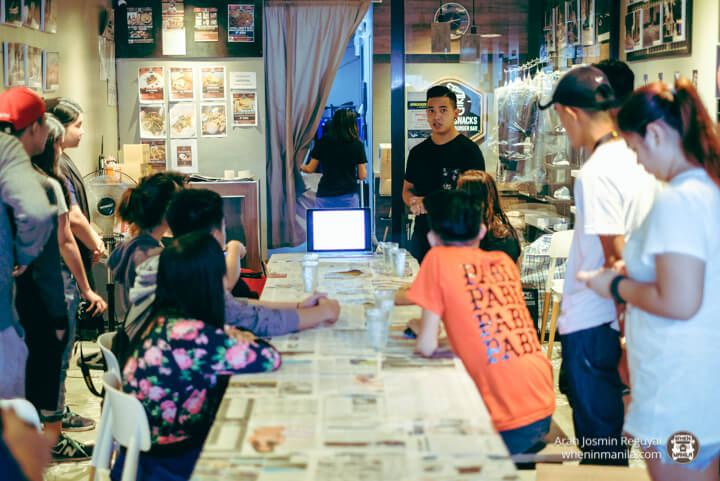
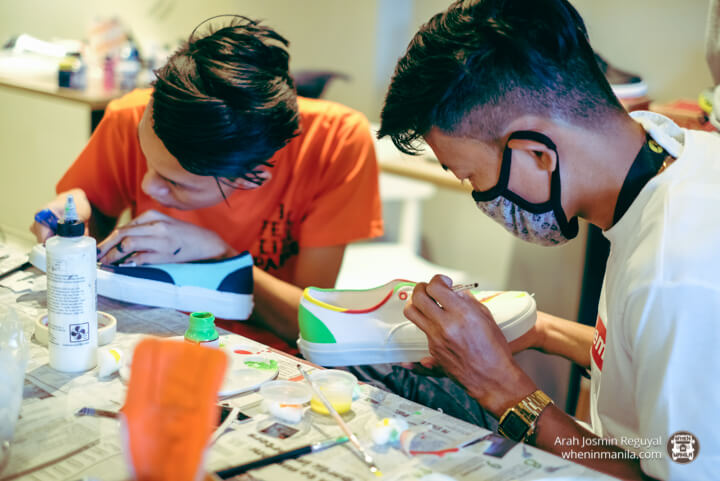
I recently had the privilege of attending Sneaker Overhaul at Sneaks and Snacks in Maginhawa, a shoe customizing workshop held by James Dycoco, Innovated Elemental Designs (I.E.D), founder and designer.
After a brief introduction of himself and what he did, the workshop really started. James gave a few tips and tricks, as well as the steps he himself followed when customizing sneakers. Check ’em out:
STEP 1: PREP WORK
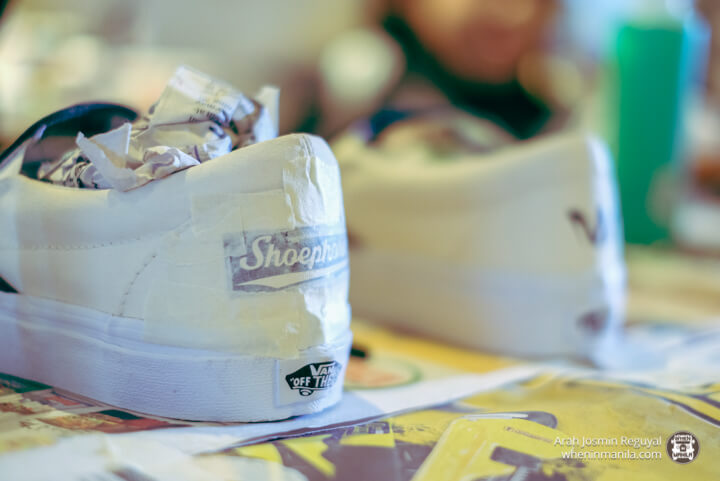
Before you can start unleashing your artistic ideas onto your sneakers, you need to prep them first. This means washing them, rubbing them with acetone (for leather shoes), stuffing them, and masking or taping them. The reason for rubbing leather shoes with acetone is so that the leather roughens a bit for the paint to stick better. Stuffing the shoes also allows an easier time for painting as an unstuffed shoe is more likely to warp your design. Lastly, you need to mask/tape the areas that you don’t want to get any paint on. These parts are usually the midsole, and the eyelets or the rings used to secure the shoelaces.
STEP 2: PAINTING
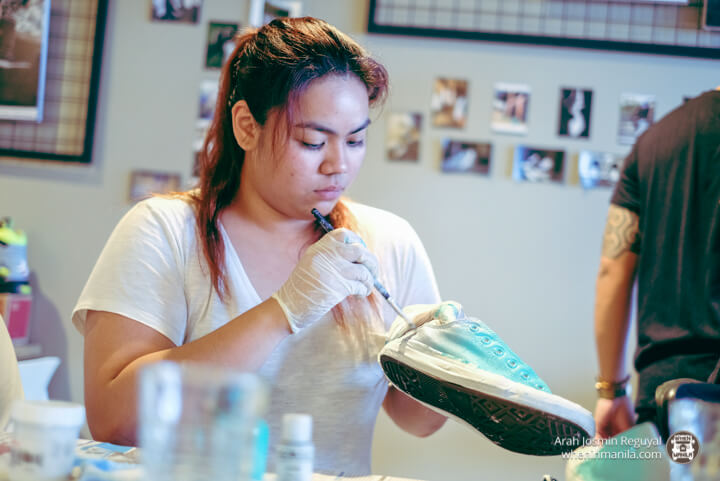
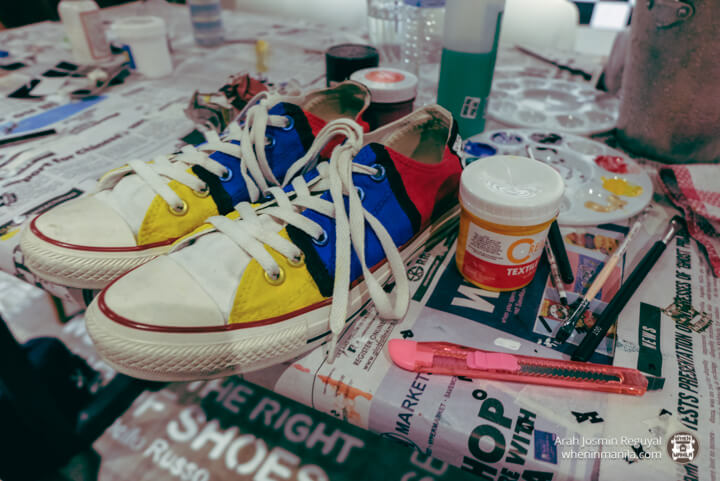
Let the fun begin! Now’s the time to get your paint and your brushes and turn your old pair of sneakers into your dream shoes. James revealed that he uses makeup, nail art, and horse tail brushes for customizing, mainly because they hold more pigments than regular synthetic bristle paintbrushes. James also revealed that many DIY sneaker revamps fail because the artist paints in rough strokes with thick layers of paint, and does not wait for the paint to dry. He suggests a 3-5 minute waiting time for each layer. (This process can be sped up with the use of a hairdryer!)
James also noted that most DIY products he has seen so far have cracked and washed off because the customizer used the wrong type of paint (commonly poster paints), and suggested that customizers stick to either acrylic or textile paints for a smoother and cleaner finish.
Worried you’re not artistic enough? Scared of messing it up? Don’t be! James encouraged, “Everyone has an artist inside of them,” and “your mistake can turn into a cool effect.”
This step is also the best time to put on any stencils you want to use for your design!
STEP 3: FINISHING
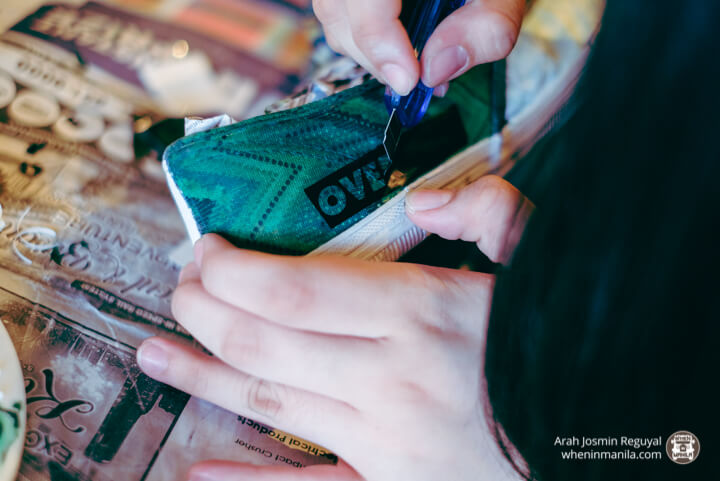
Finally! We get to see our masterpieces. After masking, painting, and drying our shoes, it’s time to unmask, remove residue, and do a few touch-ups. When removing stencils, James pointed out that peeling them off diagonally is more likely to leave a cleaner finish than peeling them straight up or down.
And there you have it! New shoes, a new look, and a new channel to express your creativity! Now go and show the world your new style!
Interested in getting your own sneakers customized by James and his team? Wanna check out their stuff? Visit:
Instagram: @i.e.d.customs
Facebook: facebook.com/IED.Customs
Email: jamesdycoco@live.com

