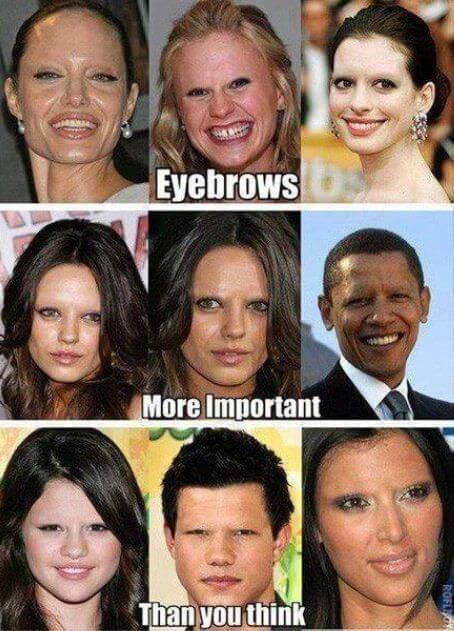
They say a picture paints a thousand words. Instead of explaining why eyebrows are important, let me show you this photo instead:
Despite knowing how important brows are, I often feel unequipped to do work on them. My brows end up too thin or too thick, so I leave them as they are.
When MommiEvents partnered with Benefit Philippines for a brow and makeup workshop, I knew I had to go! (Even if it meant braving the traffic from Mandaluyong to Alabang).
Jed, a National Brow Artist from Benefit Philippines, taught the attendees these steps to taking care of your eyebrows.
1. Wax your brows.
(Or rather, have a professional wax them for you.)
Attendees of the event had a chance to have their eyebrows waxed by the staff of Benefit Philippines. This isn’t a necessary step everytime you want to put on makeup. (I only have my brows waxed/threaded professionally every three to four months).
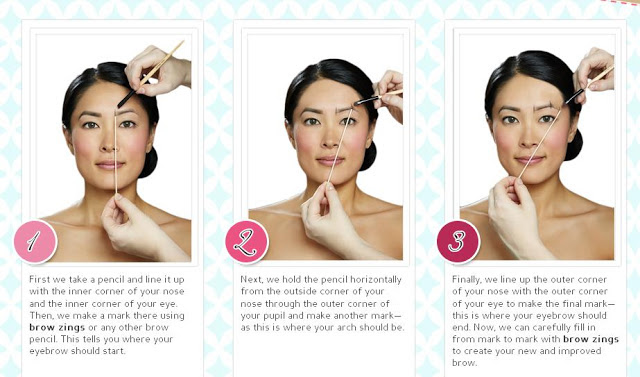
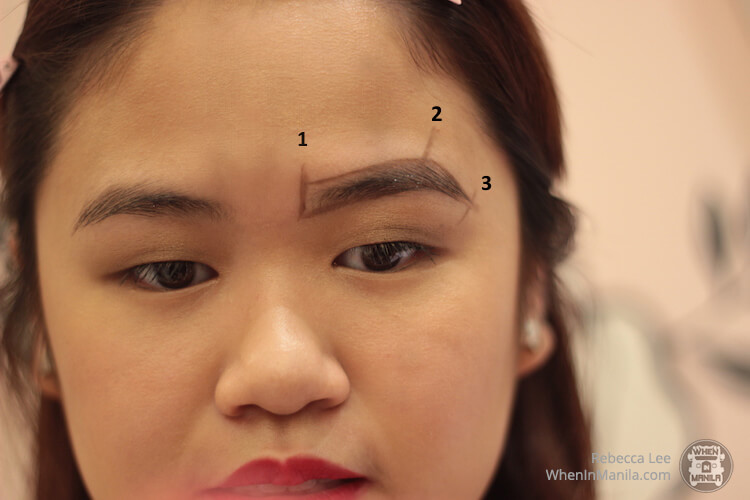
However, maintaining well-groomed brows make eyebrow makeup much easier and more convenient. At Benefit, they do eyebrow mapping before waxing your brows. Eyebrow mapping helps you determine three important points in your eyebrows: where your eyebrow should begin and should end, and where the arch should be.
Photo from Benefit.com
2. Prime your brows.
Photo from Benefit.com
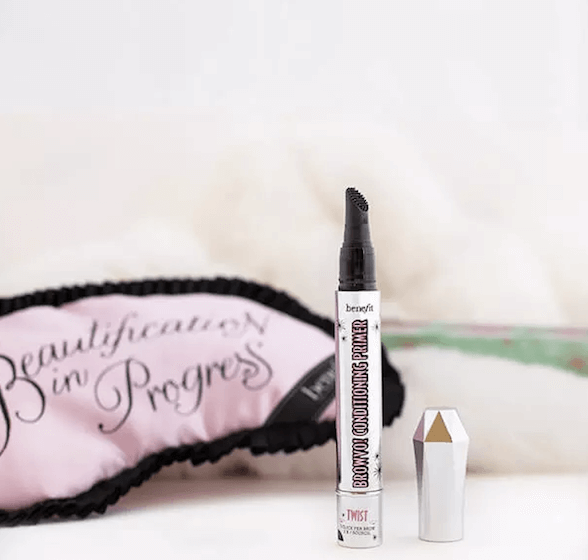
Product used: BROWVO! conditioning eyebrow primer, a “nutrient-rich primer for fuller-looking brows.”
It’s a brow RE-appearing act with this nutrient-rich eyebrow primer! Worn alone BROWVO! conditions & smooths brows. Worn as a primer it enhances & extends the wear of other brow products. This conditioning formula contains keratin & soy proteins known to help brows look THICKER, HEALTHIER & FULLER.
3. Map your brows.
It’s the same process I mentioned in Step 1. You mark the three points of your eyebrows. This step is useful for waxing, but it will also be useful for your eyebrow makeup.
Photo from Benefit.com
4. Outline your brows.
Trace the three points you marked and outline the top and bottom of your eyebrows. After this step, you should already foresee the shape of your made up eyebrows.
5. Add volume to your eyebrows.
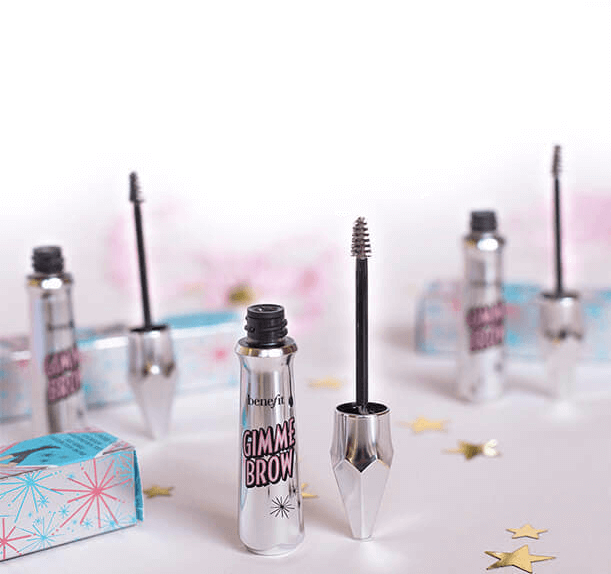
Product used: gimme brow, a volumizing eyebrow gel
Photo from Benefit.com
Our cult-favorite gimme brow tinted eyebrow gel contains tiny microfibers that adhere to skin & hairs, creating natural-looking fullness and definition. The custom, tiny tapered brush blends easily while the precision tip shapes hairs into place. Now available in 3 shades, including a NEW MEDIUM SHADE, so every gal can brush on fuller-looking brows.
Fill in the sparse parts of your eyebrows. Jed says that instead of brushing your eyebrows from the inner corner to the outer corner of the eyebrows, you should also brush them from the outer corner to the inner corner. This motion adds dimensions to the eyebrows and also evenly spreads out the colors from the gimme brow.
6. Highlight above and below your brows.
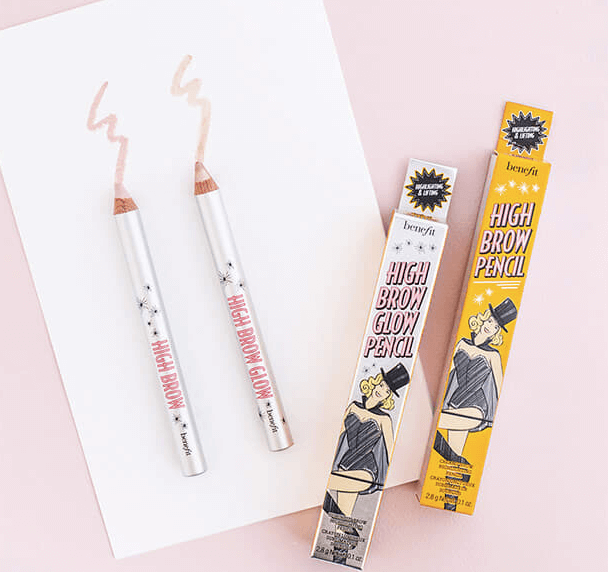
Product used: high brow eyebrow highlighter, a creamy brow highlighting pencil or high brow glow brow highlighter, a luminous brow highlighting pencil
Photo from Benefit.com
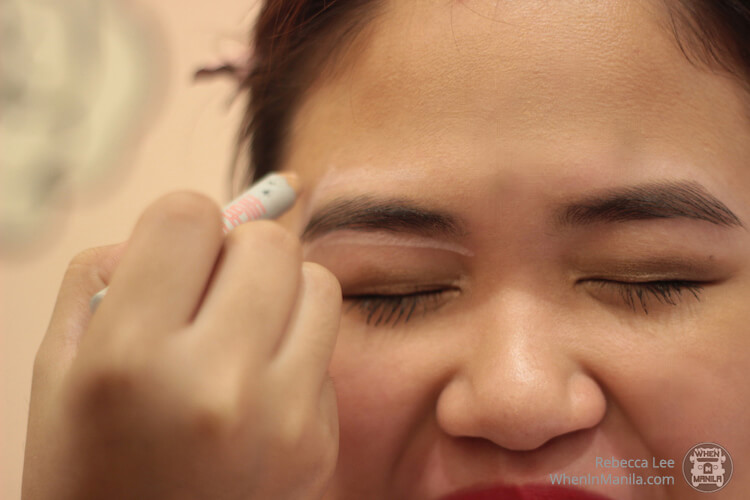
This creamy eyebrow highlighter accentuates arches for brighter, boosted and younger-looking eyes. Ideal for all skin tones, the natural-looking linen-pink pencil glides onto brow bones and blends in like a dream.
Apply high brow on top of and below your eyebrows. Blend using your fingers or cotton buds.
7. Highlight your brows.
Product used: 3D BROWtones eyebrow enhancer for subtle brow-enhancing highlights
Brows come to life with this brush-on highlighting gel! The custom mess-proof brush applies evenly from root-to-tip. It softens the look of darker brows with subtle highlights and enhances lighter brows with depth & dimension. Wear alone or with your favorite brow pencil.
8. Set your brows.
Product used: 24-hour brow setter clear brow gel, a 24-hour invisible shaping & setting gel for brows
This 24-hour* clear brow gel shapes & tames brows and locks on makeup so brows don’t pull a disappearing act. The custom-molded, dual-sided wand coats hairs from root to tip and the flexible, flake-free formula is easy to apply and quick to dry!
My Favorite Brow Product
I mentioned a lot of products in this blog post. I know it would cost a fortune to buy all of them. If, like me, you have a limited budget and are only willing to shell out on one of the products I mentioned, it’s best to assess what your eyebrow needs the most.
I chose gimme brow. It was what Jed recommended for my eyebrows. It did a very good job in filling out the sparse parts of my eyebrows, but it still looked very subtle and natural.
Thank you, Mommi Events!
Special thanks to Mommi Events for inviting WhenInManila.com to this event. I finally learned how to do makeup on my eyebrows!
Mommi Events
Facebook: facebook.com/mommievents
Instagram: @mommievents
Benefit Philippines
Facebook: https://www.facebook.com/benefitcosmeticsphilippines/
Instagram: @benefitph

